Gardening is a rewarding hobby, providing fresh produce and a sense of accomplishment. However, one of the most challenging aspects of maintaining a healthy vegetable garden is ensuring consistent and adequate watering. Manual watering can be time-consuming and prone to errors, leading to either overwatering or underwatering. The solution? An automated watering system. In this article, we will explore the ins and outs of automating your garden’s watering process, covering everything from system types to step-by-step installation and maintenance.
Some of the links on this website may be affiliate links. If you purchase a product or service through these links, I may earn a small commission at no extra cost to you. I only recommend products or services that I have personally used and believe will add value to my readers. Thank you for your support!
Understanding Automated Watering Systems
Definition and Types
An automated watering system delivers water to your plants on a pre-set schedule, ensuring they receive the right amount without constant manual effort. There are several types of automated systems, each suited to different garden sizes and needs:
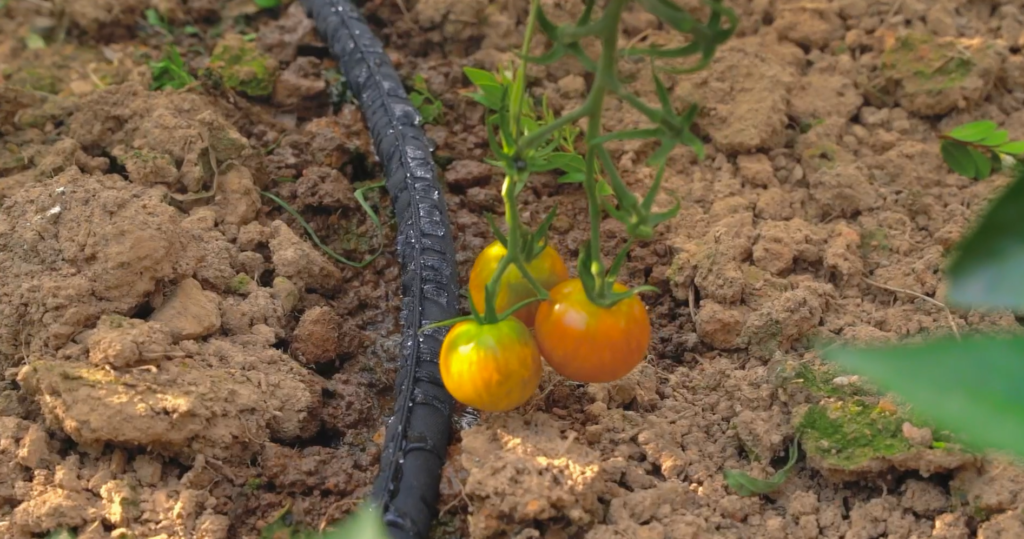
- Drip Irrigation: This system delivers water directly to the plant roots through a network of tubes and emitters, making it highly efficient and water-conservative.
- Soaker Hoses: These hoses release water slowly along their length, soaking the soil around your plants.
- Sprinklers: Suitable for larger areas, sprinklers spray water over a broad surface area.
Benefits
Automating your garden’s watering offers several benefits:
- Consistency: Plants receive a steady amount of water, reducing the risk of over or underwatering.
- Water Conservation: Systems like drip irrigation minimize water waste by targeting the root zone.
- Time Savings: Automation frees up your time, allowing you to focus on other gardening tasks.
- Better Plant Health: Consistent watering leads to healthier plants and higher yields.

Components of a Basic System
A basic automated watering system typically includes:
- Water Source: Usually a garden hose or main water line.
- Timer/Controller: Manages the watering schedule.
- Distribution System: Pipes, hoses, and emitters that deliver water to plants.
- Sensors: Optional devices that monitor soil moisture and weather conditions.
Planning Your Automated Watering System
Assessing Your Garden’s Needs
Before setting up an automated system, evaluate your garden:
- Size and Layout: Measure the area to determine how much tubing and how many emitters you’ll need.
- Types of Vegetables: Different plants have varying water requirements.
- Soil Type and Drainage: Sandy soil drains quickly, while clay retains water longer, affecting your watering schedule.
Designing the System
Design your system with these steps:
- Mapping Out the Garden: Sketch your garden layout, marking where each plant is located.
- Choosing the Type of System: Decide whether drip irrigation, soaker hoses, or sprinklers are best for your garden.
- Determining Water Zones and Schedules: Group plants with similar watering needs into zones and set appropriate schedules.
Budgeting
Consider your budget:
- Estimating Costs: Calculate the cost of timers, tubing, emitters, and any additional components.
- DIY vs. Professional Installation: Weigh the pros and cons of installing the system yourself versus hiring a professional.
Choosing the Right Equipment
Timers and Controllers
Timers and controllers are the brains of your system:
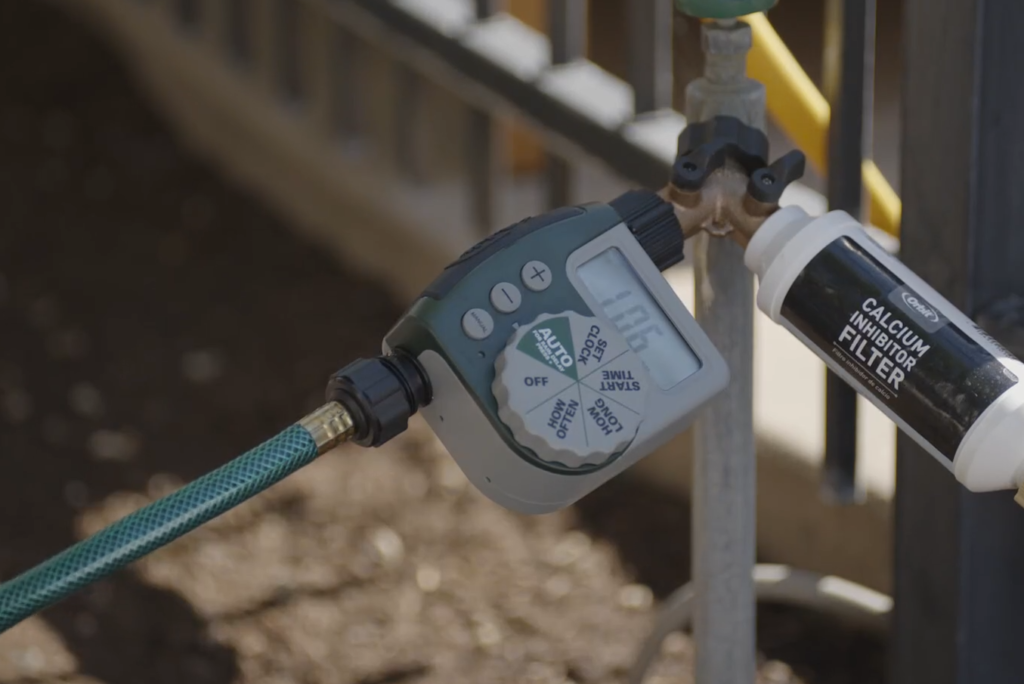
- Basic Timers: Simple to use, these timers attach to your hose and turn the water on and off at set times.
- Smart Controllers: These advanced controllers connect to Wi-Fi, allowing you to adjust settings remotely and even respond to weather conditions.

Product on Amazon: Drip Irrigation
Distribution Systems
Select the appropriate distribution system:
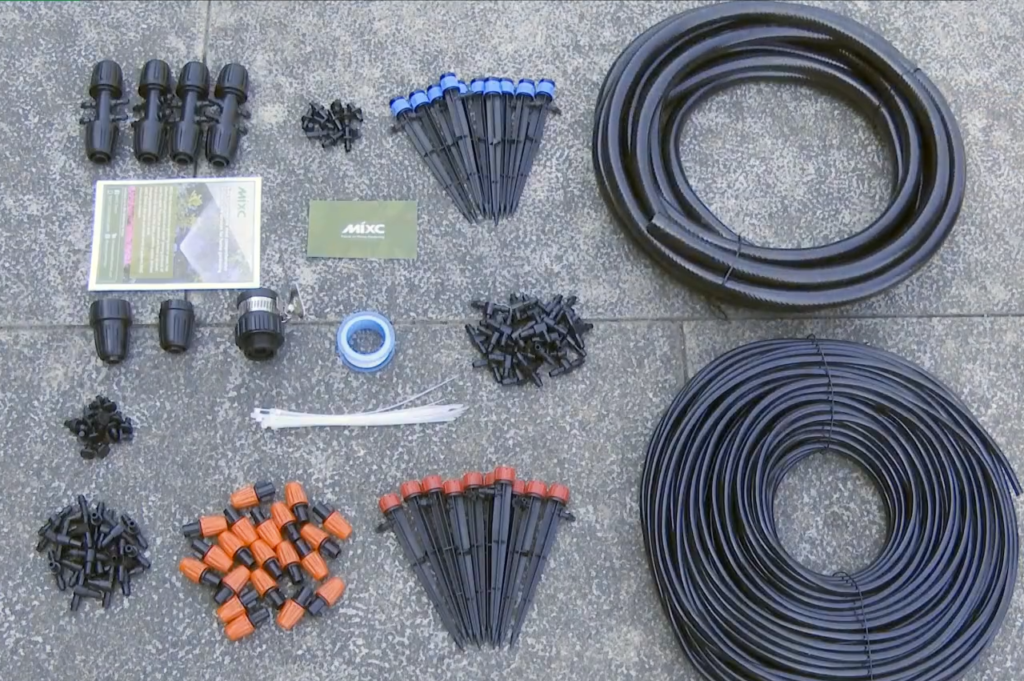
- Drip Irrigation Components: Includes tubing, emitters, and connectors.
- Sprinkler System Parts: Consists of sprinkler heads, risers, and piping.
- Soaker Hoses: Easy to install and ideal for row gardens.
Sensors and Add-ons
Enhance your system with these additions:
- Soil Moisture Sensors: Monitor soil moisture levels and adjust watering accordingly.
- Rain Sensors: Prevent the system from running during rainfall.
- Flow Meters: Track water usage to help conserve water.
Step-by-Step Installation Guide
Preparing Your Garden
Start by preparing your garden area:
- Clearing the Area: Remove any debris and weeds from the installation area.
- Laying Out the Plan: Use your garden sketch to mark where each component will go.
Setting Up the Water Source
Ensure your water source is ready:
- Connecting to a Faucet or Main Line: Attach your system to the water source.
- Installing Backflow Preventers: These prevent contaminated water from flowing back into your home’s water supply.
Installing Timers/Controllers
Follow these steps to set up your timer:
- Basic Setup: Attach the timer to your water source and set the watering schedule.
- Programming Watering Schedules: Input your desired watering times and durations.

Laying Down the Distribution System
Install the main components:
- Installing Main Lines and Lateral Lines: Lay out the tubing according to your plan.
- Placing Emitters/Sprinklers: Position emitters or sprinklers near your plants.
- Testing for Leaks: Run the system to check for leaks and ensure all connections are secure.
Adding Sensors and Automation
Integrate additional technology:
- Integrating Soil Moisture Sensors: Place sensors in the soil to monitor moisture levels.
- Setting Up Rain Sensors: Position rain sensors to detect precipitation or use smart controllers that track local weather.
Final Checks and Adjustments
Before finishing, conduct these checks:
- Running the System: Turn on the system and observe its operation.
- Fine-tuning Emitter Placement and Flow Rates: Adjust emitters to ensure even watering.
Maintenance and Troubleshooting
Regular Maintenance Tasks
Keep your system running smoothly with these tasks:
- Checking for Clogs and Leaks: Regularly inspect tubing and emitters.
- Seasonal Adjustments: Modify watering schedules based on seasonal changes.
- Cleaning Filters and Emitters: Periodically clean to prevent blockages.
Common Issues and Solutions
Address common problems:
- Uneven Watering: Adjust emitters and check for clogs.
- Sensor Malfunctions: Replace or recalibrate faulty sensors.
- Controller Failures: Reset or replace controllers as needed.
Winterizing Your System
Prepare your system for winter:
- Draining Lines: Remove water from tubing to prevent freezing.
- Protecting Timers and Sensors: Store sensitive components indoors.
Advanced Tips and Tricks
Maximizing Efficiency
Optimize your system:
- Grouping Plants with Similar Water Needs: Reduces water waste.
- Using Mulch to Retain Moisture: Helps soil retain water longer.

Water Conservation Strategies
Implement these strategies to conserve water:
- Incorporating Rain Barrels: Collect and use rainwater for your garden.
- Utilizing Greywater Systems: Reuse household water for irrigation.
Integrating with Smart Home Systems
Enhance your garden with smart technology:
- Syncing with Home Automation Platforms: Control your system through smart home devices.
- Remote Monitoring and Control: Adjust settings from anywhere using a smartphone.
Automating the watering of your vegetable garden is a game-changer, offering numerous benefits such as consistent watering, time savings, and better plant health. By following the steps outlined in this guide, you can design and implement a system that meets your garden’s unique needs. From understanding the different types of systems to choosing the right equipment and ensuring proper maintenance, each phase is crucial for creating an efficient and reliable watering solution.
Implementing an automated watering system may seem daunting at first, but with careful planning and the right tools, it’s a manageable and rewarding project. The benefits of healthier plants, water conservation, and more free time make the effort worthwhile.
Starting with a small section of your garden can help you get comfortable with the technology and process before expanding the system to your entire garden. The initial setup might take some time, but once installed, the automated system will save you hours of manual watering and ensure your plants thrive.

